You have purchased a Showit template, and you are ready to get in and start customizing! Your first stop is going to be the Design Settings where you can update the template to match your brand before you even start the fancy stuff. Let’s get started!
Where are the design settings in Showit?
The template will come with fonts and colors all set-up. You can absolutely use those if you don’t have any branding yet, but if you do want to change them up the Design Settings is your first stop.
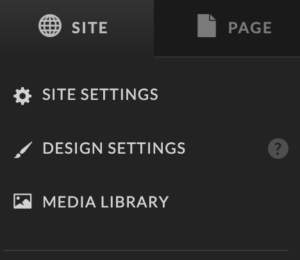
Design settings are located in the top left corner of your Showit Site. Click it to open all of the settings.
Updating your color palette in your Showit site
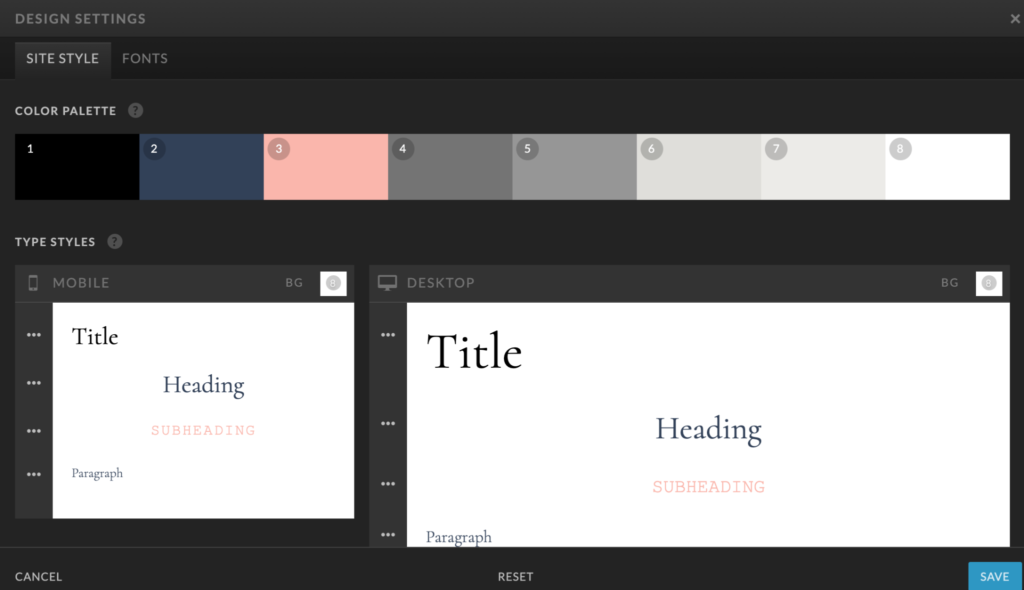
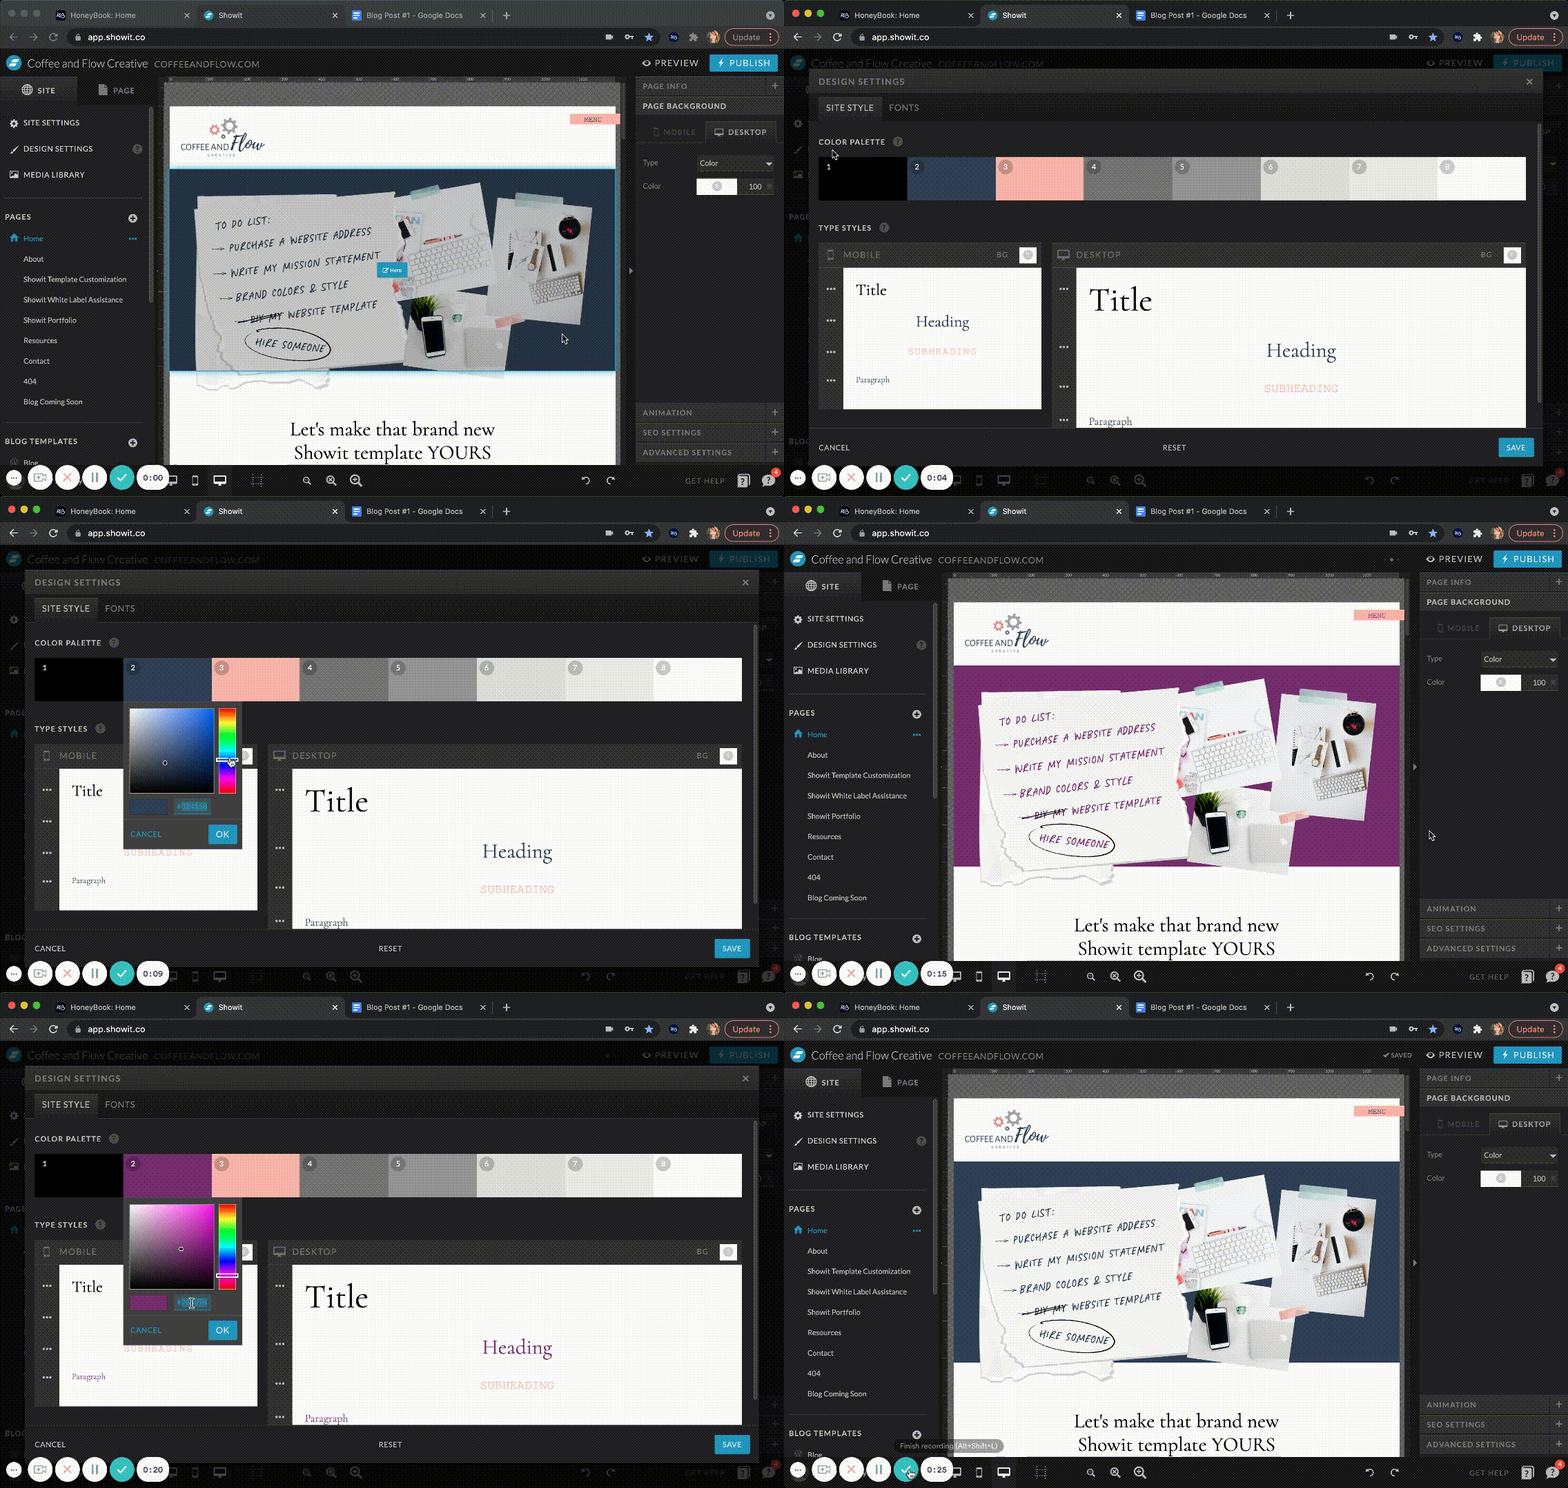
In your design settings, you can change any colors in the color palette to reflect your brand. Showit templates typically start with the darkest color and move to the lightest. Do you see how each color has a number on it in the Design Settings? That number (or color), is assigned throughout your site to fonts, design elements, boxes, buttons, etc.
When you change out a color in the design settings, it will update everything with that number (or color) throughout the site. This is just one of the amazing features of Showit, which makes updating your site super easy! If you want to change out a color, you just click on the shade you want to change out and replace the current HEX code with your brand color HEX code.
Updating Font Settings in Showit
Now that your color palette is set, your next stop will be fonts. The font settings in Showit will allow you to set different fonts for Mobile and Desktop. (Can we say another AMAZING feature of Showit?!). It functions the same, where if you update anything in the Design Settings, it will update that same thing throughout your entire site. That is why it is important to stay consistent when designing your site and assigning text styles throughout your site. Then if you ever wanted to change a font style, it takes just a couple quick clicks!
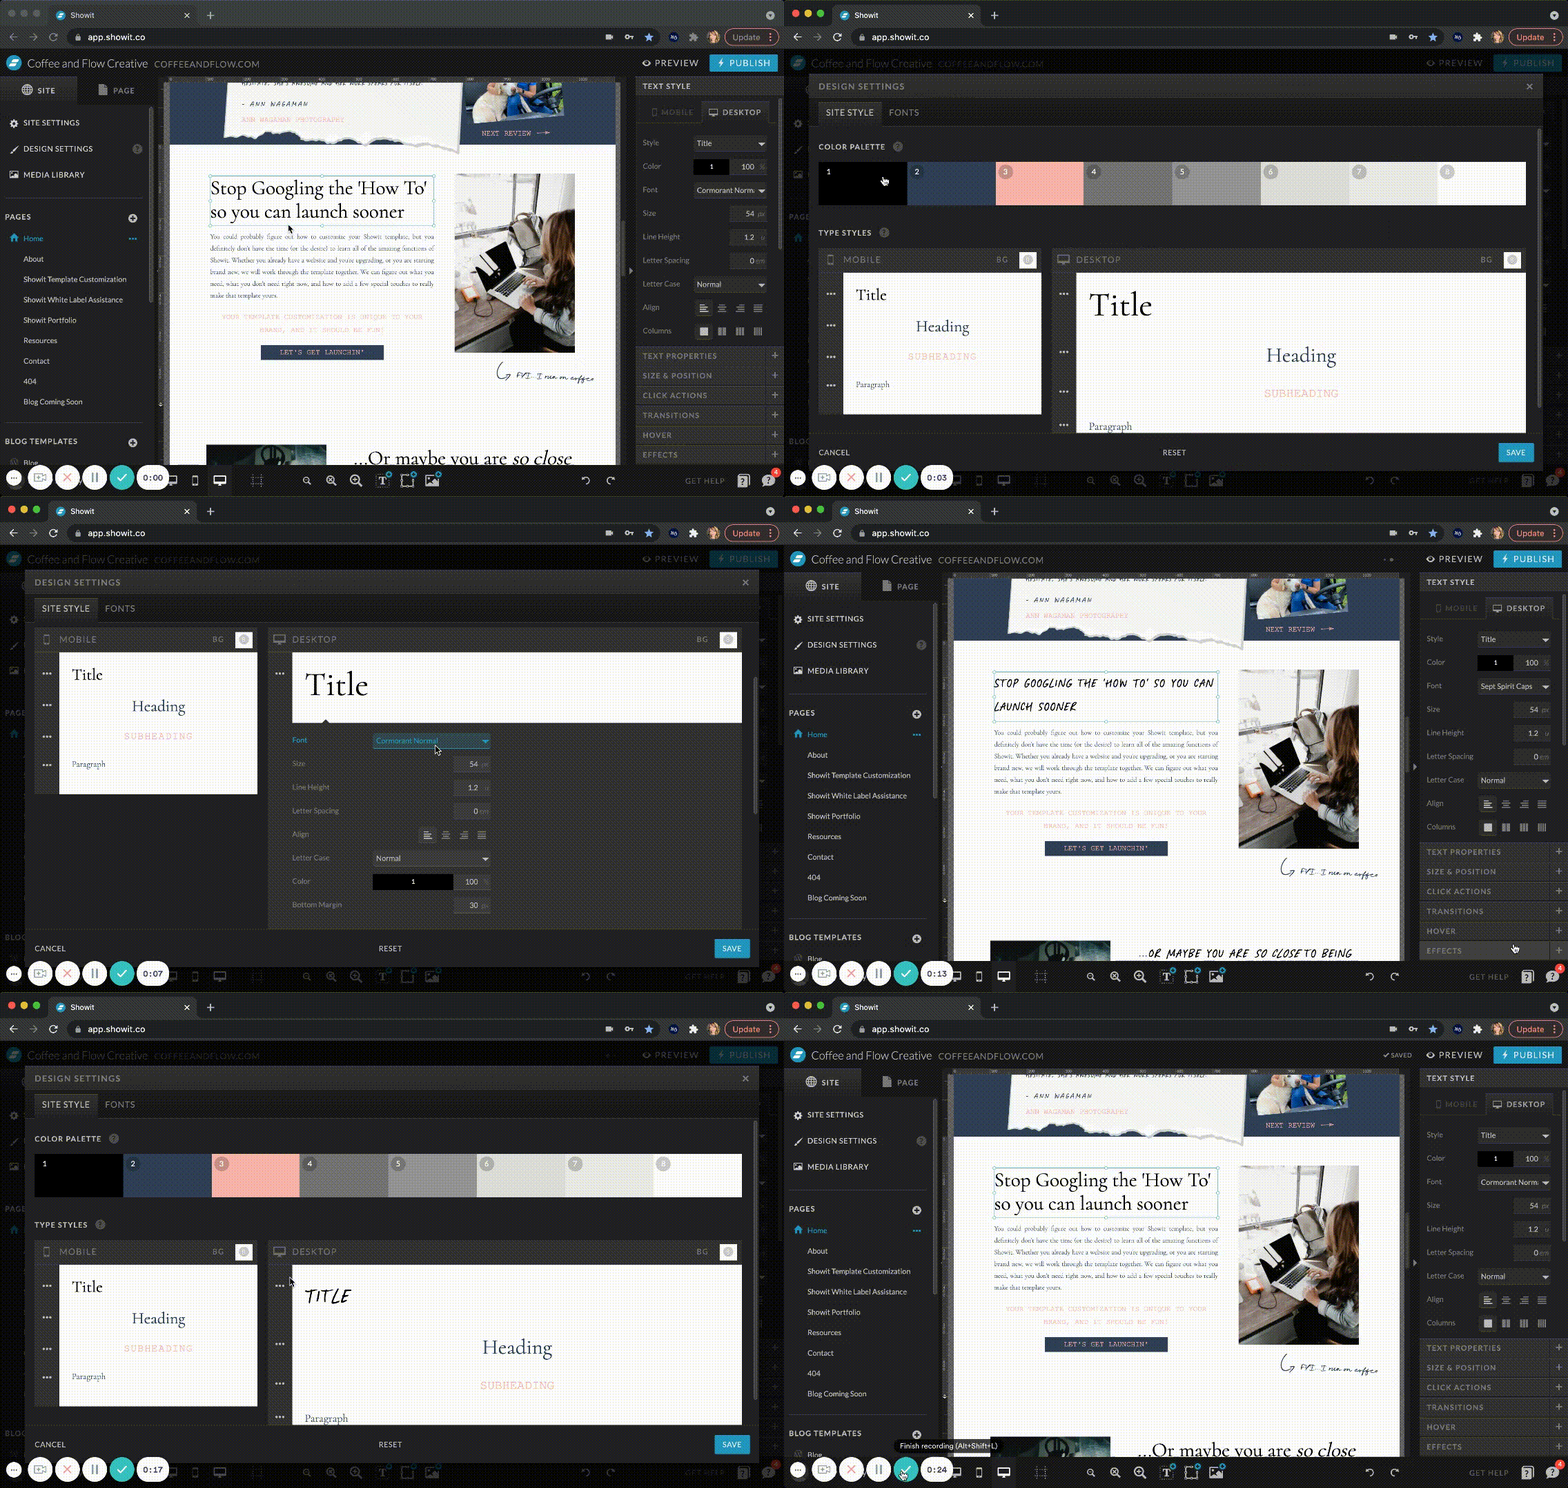
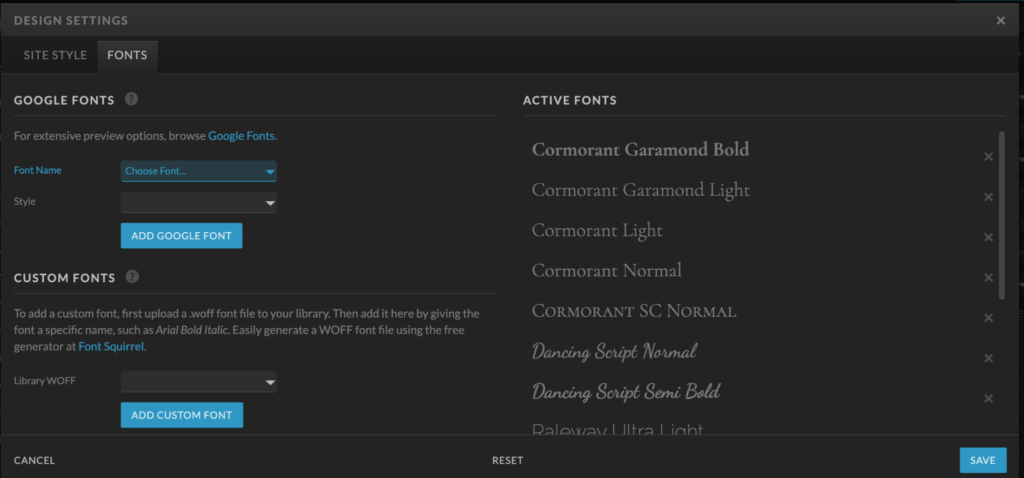
Showit already has every free Google font in the system. If you click the ‘Fonts’ tab in the Design Settings, you will be able to see a dropdown of all the Google fonts, and then ‘Add’ it to your site as an active font. As you click through the Google fonts, you will be able to see a preview before you add it.
Adding a Custom Font to Showit
Do you have a custom font you want to add to Showit? Just follow these steps to add it in!
- Make sure the font is in a WOFF format. You can use Font Squirrel to convert your font into that file type.
- After it is in the WOFF format, upload the font to your Media Library. I usually create a folder in the Media Library called ‘Fonts’ to keep things organized.
- Once it is in your Media Library, go back to your Design Settings and use the dropdown under the Custom Fonts section to find your font.
- Click Add Custom Font.
- Go back to the Site Style tab, and assign the font to any text you would like.
Do you like to learn by watching? Check out this video for step by step instructions!
You have the ability to set a style to any of the text settings. This includes alignment, spacing, font size…everything! Sometimes when I’m designing a site, I end up realizing a font is too big or small and end up changing it in the design settings if I think I’m adjusting too much.
Don’t forget…any time you change something in the Design Settings, it will change throughout the whole site.
Ready to customize!
Now that your brand is in the template, you can start digging in and customizing the rest of your site. If you’re looking for the next steps, you can view this post on how I start with customizing templates!
