You finally did it…you pulled the trigger on a Showit template. The template is in your Showit account, but where do you start? You’re starting to feel overwhelmed and second guessing your big purchase. Now you can take a deep breath, and let’s go over the steps you can take to lose the overwhelm and launch that site quickly! The first step is to turn the template into your own brand.
Update the Design Settings
The first step in customizing your Showit template is to update the design settings to match your brand fonts and brand color palette. You can find the Design Settings by looking in the top left hand corner, under the Site tab. If you want a full how-to on the design settings, check out this blog post where I go step by step! After you update the Design Settings, start by going through each page of the template.
Clean Up The Showit Template For Your Business
Customizing a Showit template can be super overwhelming. That’s why I like to take things one step at a time. Start by clearing out the ‘junk’ in the template by following this guide:
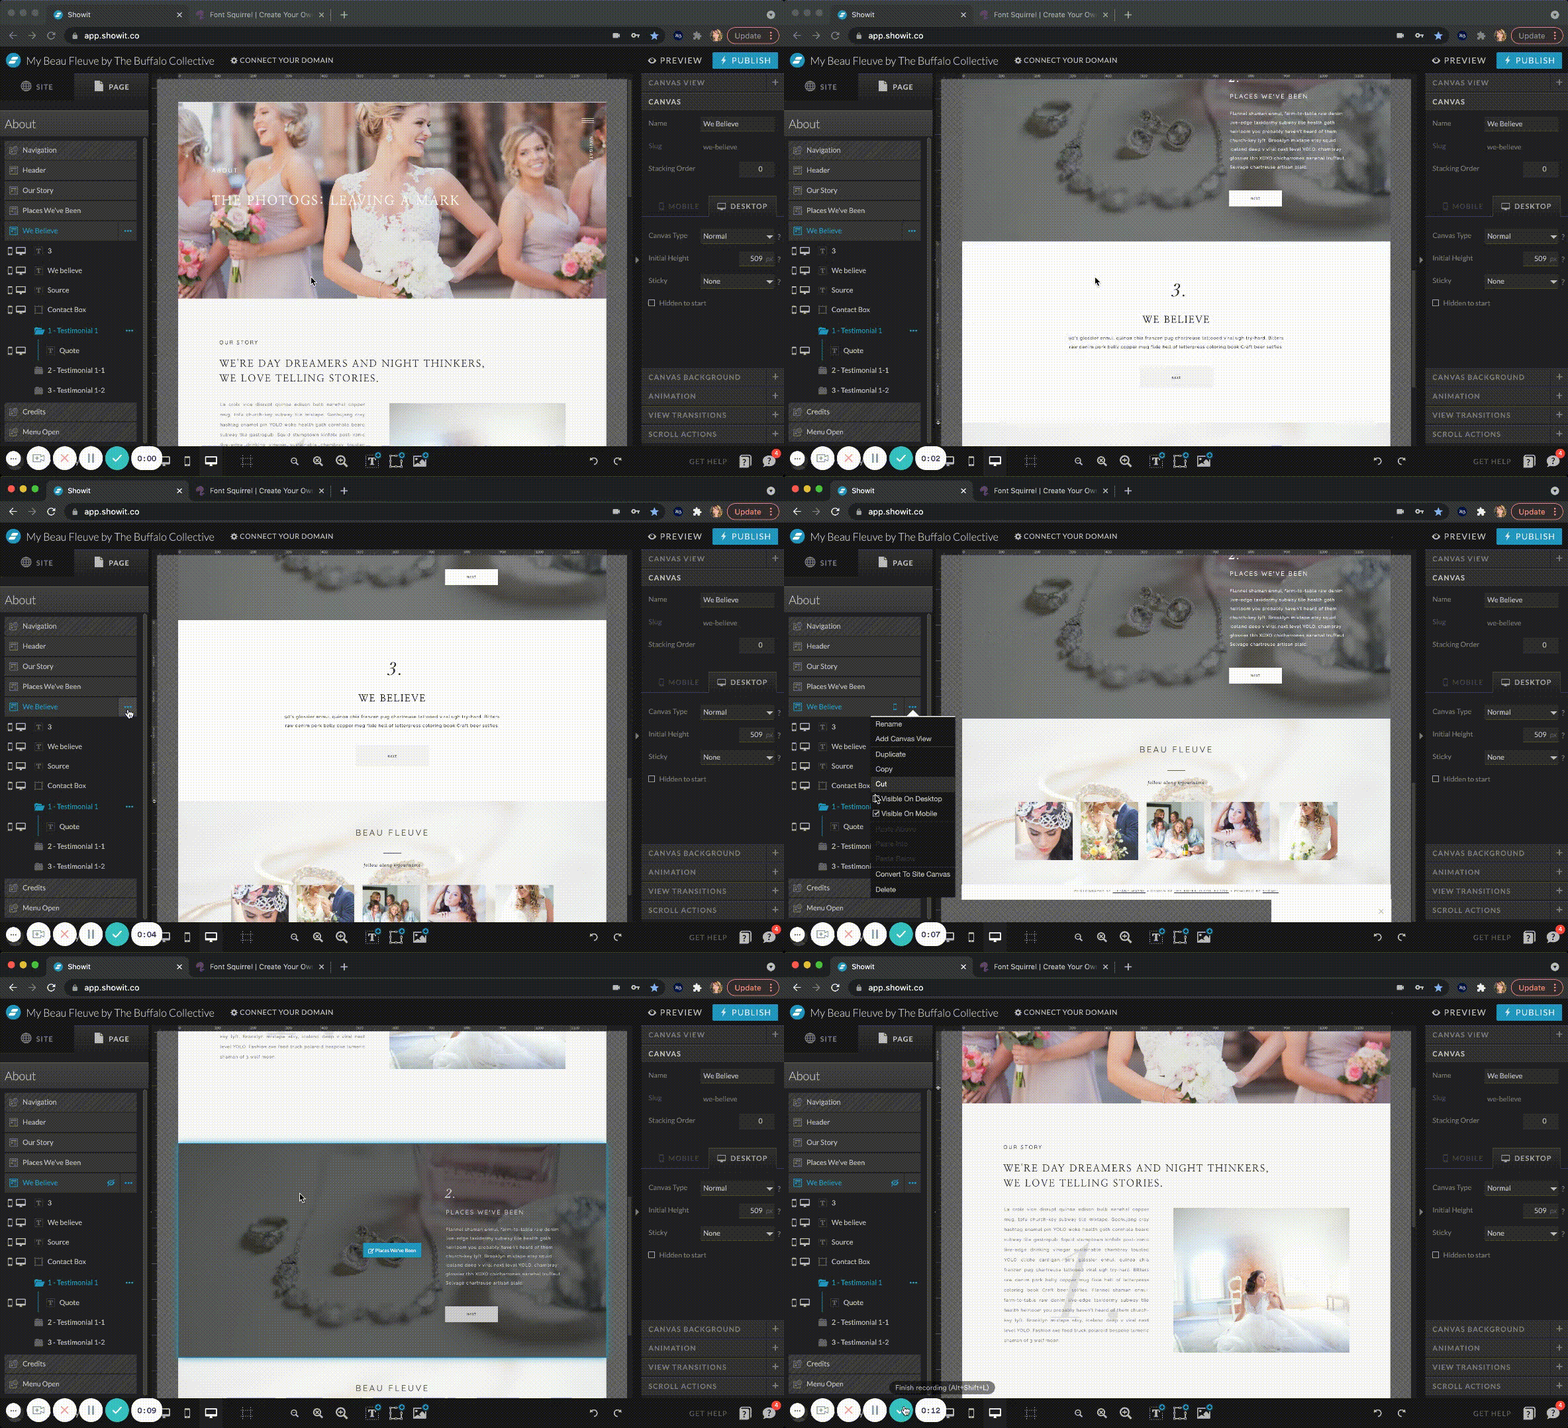
- Go through every page and hide anything you don’t need. If you don’t have an email marketing system yet, hide the opt-in sections! If the template has 4 services and you only have 2, hide the other two! Cleaning the pages up and simplifying them will make things MUCH easier and less overwhelming for you trying to fill in what you think you need to fill in.
- On the flip side…if you do have an email marketing system or opt-in’s, start making notes as you go through the pages. Do you need to have copy (that’s website lingo for words on your page) for your freebie? Do you need to make a note to create a form from your email marketing system? Make notes as you go thinking through what you will need.

Showit has lots of free templates you can start your design with too! This one is from The Buffalo Collective.
Time to Go Back and Review the Website Pages
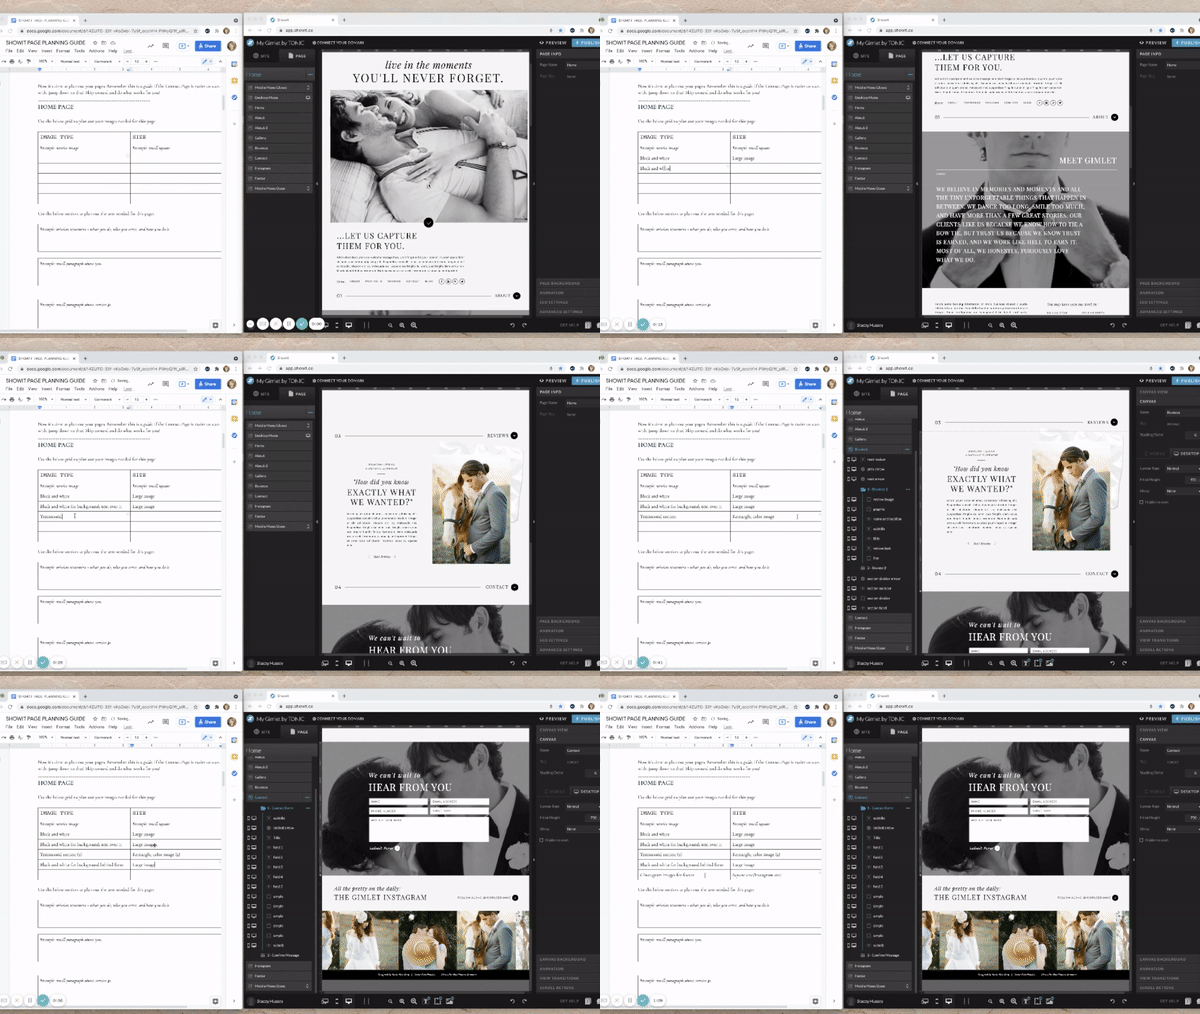
You have all of your pages set-up with what you need, now it is time to go back through your Showit template and figure out exactly what each page will need. I suggest opening a Google Doc, write down the page name, and start making a list for each page.
For example:
- How many images do you need on this page? Do you need to download stock images or do you have enough brand images?
- What is the copy you need on this page? A little paragraph about you? A small description of your offers? Testimonials? The idea is to just take a quick note to help get you started and organized.
- What links do you need on the page? Is there a purchase page you are linking to? Do you have your social media links listed out and ready to go?

Time to Upload Your Images into Showit!
The final step for preparing for a successful Showit template customization is uploading your images to the media gallery. Showit does optimize your images to an extent, but it’s always beneficial to upload them to the media gallery in proper form. Resize your images to be 3500 pixels on the long edge, and ensure they are in jpg format. I actually do this right from the size settings in the preview on my computer. I can do multiple at a time, save them, rename them all and they are ready to upload to the media gallery!
When I upload images to the Media Gallery, I always organize them by folder. Depending on your business, you want to organize and name your files in a way that makes it easy to update the template. Sometimes you can do this by page, or by style, it is all up to you!
Customize Your Showit Template
Now that you are SUPER organized, it’s time to get working. Work on your copy, update your template and launch! Just remember – you bought a template that has been designed to be strategic and converting. Stick to the template, update what you can, and just do your best. A website is always changing and never done. Best of luck to you and happy launching!
